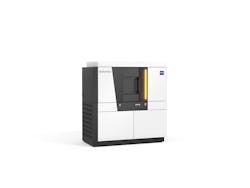
Zeiss simplifies computed tomography
Metrotom 1 Zeiss’s computed tomography systems use X-rays to measure and inspect parts, uncovering hidden defects and internal structures that tactile or optical measuring systems can’t detect. Its Metrotom 1 system can measure small to medium-sized objects made of plastic or light metal, such as connectors, plastic caps or aluminum parts.
What’s new? The entry-level Metrotom 1 system.
Benefits Ease of use. Zeiss has made computed tomography inspection as simple as placing the part into the system, pressing the button and analyzing the resulting measurements. The included GOM Volume Inspect software is suitable for beginners and handles everything from scan set-up and reconstruction to data evaluation and reporting. The software makes it easy to find even tiny defects and can be used to perform trend analysis and compare captured 3D data with the CAD model. The system is low maintenance and provides a quick return on investment.
Zeiss Industrial Quality Solutions, Maple Grove, Minn., 800-327-9735, www.zeiss.com/metrology
Vital statistics | |
Size | 5.7 feet wide by 6 feet high by 2.9 feet deep |
Weight | 4,630 pounds |
Measuring volume | 6.5 inches diameter by 5.5 inches high |
